As I was dissatisfied with the engraving I did on the orrery so another route will be explored. Two previous pages (Reversed & Inverted and Printout for Etching) have dealt with preparing the requisite printouts for etching the orrery. This page will focus on etching experiments and application to the orrery.
The first things to do were to print the designs on the special paper and prepare a polished piece of brass for transfer and etching. The printout was fairly simple. Avery 3279 Transfer Paper was utilized. The printer prints on the bottom of the piece of paper inserted into the printer, so the silicone side was placed in the paper tray face down. A number of the various patterns were duplicated on the Printout for Etching page just for these experiments. The text to be printed on the planet rings were not printed at this time.
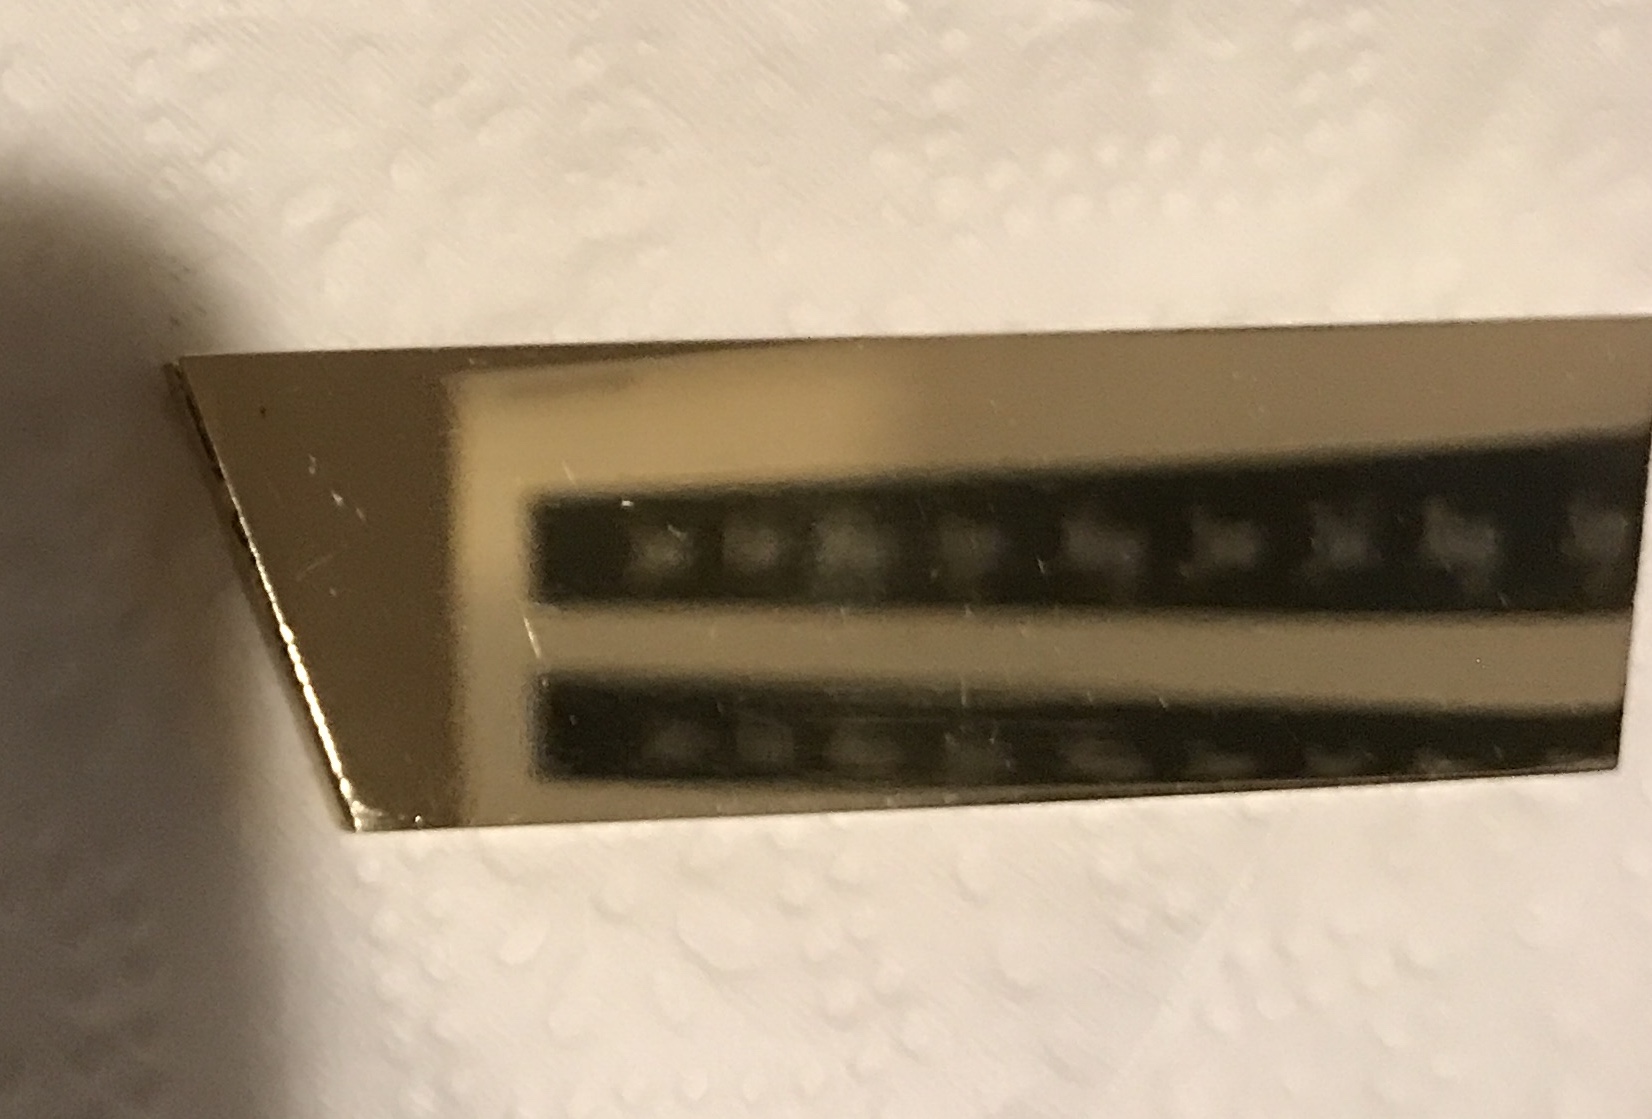
A piece of unused dodecagon was pulled from the scrap bin to serve as a test bed. It was sanded from 220 to 1500 grit on both faces. (Gloves were worn throughout the sanding and subsequent polishing.) Polishing with red rouge on a cotton wheel came next. Too much rouge was applied to the wheel initially. The excess was removed with a wooden block. The brass part got quite hot to the touch. The black material that was caked on was removed with soap and water. The trapezoid was dried and three more repeats of the polishing process gave a pretty good shine.
Nice view of the printout to be transferred.
The printout was cut so that a month could be transferred to the polished brass rhomboid. Reading the instructions carefully, hinted at a major problem. The backing was carefully peeled off of the paper and the resulting material was placed on the brass print side up!!! A piece of tissue paper was placed on the brass covering the printed month. The iron at high temp and without steam was held on the tissue paper for 45 seconds. This is really a hot gluing process!! the entire design was now glued to the brass. I guess this is how the printout is supposed to stick to a tee shirt. Back to the store for silicone paper, not transfer paper.
PCB transfer paper was purchased from Amazon. Put the "etch test.pdf" file on a flash drive and drove to Office Depot. Unfortunately, they could not read the Mac formatted flash drive. Went home and emailed the file to Office Depot. The file was printed first on a laser printer on regular paper. All looked good, so it was printed on the blue side of the transfer paper. The printout looked perfect, I paid the $1.50, and drove home with transfers ready to for etching. The previously polished brass scrap needed some cleanup and repolishing. I also need to carefully think through the process for etching the brass once the transfer has been applied. Expecting a delay the printout was replaced in the original packaging to keep the transfer gel from drying out. Further net research indicates that overhead transparencies also work well and allow easier visualization when during the ironing process.
A brass trapezoid with some engraving was pulled from scrap. The new sanding belt was used to give it a rough sand. This quickly removed the engraved letters. The brass got quite hot to the touch even with very short sanding times. Will need to keep water close by when sanding the larger frame top.The brass was then sanded with 150, 320, 400, 600, 1000, & 1500 grit paper to an almost mirror finish.
Before applying the transfer a prototype application was attempted. Two pieces of regular paper were cut out. One had a constellation and one had a month. An edge was folded over to serve as a register when applying the paper to the brass. Taping these two down was difficult due to static attraction between the paper and the packing tape. It was possible, however, printing the needed set of items for each brass part on one piece of paper will be a much better process. The same taping was then applied to the transfer paper cutouts. The iron was heated to its highest setting (without steam). The iron was then placed on the brass with a piece of paper between it and the taped on transfers. It was held in place for about two minutes. It was rotated slightly about five or six times as the bottom of the iron has holes. The brass was allowed to cool to warm over about five minutes. The tape had clearly melted leaving some dried glue/plastic on the exposed brass. The transfer paper was gently peeled up and there was just a mess under it. Something was transferred but no constellation or month was visible! I do not know if this failure was due to the melting tape or some other factor.